Sword in the stone brief. Concentrating on the sword, Excalibur, instead of Arthur. Set in a forest (possibly Hampstead) early morning, different shots, possibly on the last shot an actor (who will play Arthur) walking towards the stone.
Introduction to Mocap | Maya HIK QuickRig and Retargeting


For our first lesson we learnt how to add Mocap data to a 3D model. We did this by creating a quick rig and the baked it to the model.


HIK QuickRig Customization | Free Character Assets | HIK Retargeting


In this lesson we went over how to do a quick rig and how to add rigged fingers. For the fingers we used the joint tool and added them to the quick rig.
Assessment 1


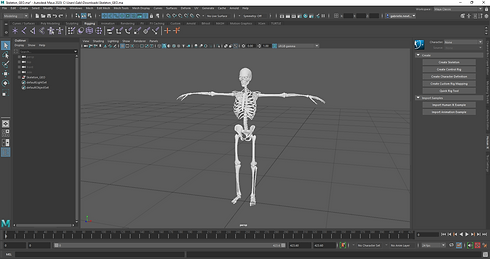
For this assessment, I brought in the skeleton model that was provided in class. I created a quick rig and placed the joints exactly where they should be and mirrored it so the joints on the other half would be placed exactly where needed.I tried to rig my fingers but encountered problems so I left the finger out. I then opened maya again but with the Mocap file I wanted to us. I then selected my mocap skeleton then rotated it to 90 percent. I then imported the skeleton model with the joints and baked the two together. I then modeled walls and a floor and added lights. I tried to render it out properly but there were a few problems so I had to use a playblast as my final render.
Assessment 2


For this assessment, I first downloaded a model from renderpeople.com. I then brought it into Maya and choose some Mocap footage from the files that were provided. I then added the two together and baked them. I had a few issues with rendering the scene out so again I did multiple playblasts, and exported them into Adobe premiere pro and edited them to make like a party dance scene. I also graded the scene so the model matched the scene a bit better.